
Can you feel it in the air? Despite the greenery and flowers the small signs are there. Scattered red leaves…falling seeds…a sun that sets just a little sooner. Autumn is around the corner and it’s my favourite time of the year. The crisp, sweet air makes running an energizing affair instead of a slog and the menu shifts to root veggies, stews and autumnal fruit. Yum, yum.
School season is also here. Pencils, new jeans…..and lunchboxes. Am I the only parent that dreads lunch prep? My kiddo is a super picky 8 year old. Every morning I face the lunch interrogation. What did you make for lunch mom? If left to his own devices he would eat bread, peanut butter and chocolate every single day. Needless to say this is not what I pack, much to his chagrin.
The toughest task is sourcing snacks that will pass the taste test. Junk food is mighty appealing and since we made the choice to cut down on gluten, dairy and sugar many old standards haven’t made the lunchbox cut. After a ton of recipe testing I managed to come up with one particular treat that packs a nutritious wallop without jumping over the cliff health wise. Meet my most successful recipe to date – azuki bean brownies.

??!! Beans and brownies you say? Oh yes, and to be frank you don’t miss anything with these babies. Super chocolatey, vegan, gluten free delights. They also provide a hit of protein. If you are going to give your child a sugary snack these brownies are the way to go. Thankfully my guy has no idea there are beans in these brownies (shhhhhh) so he devours them with abandon.
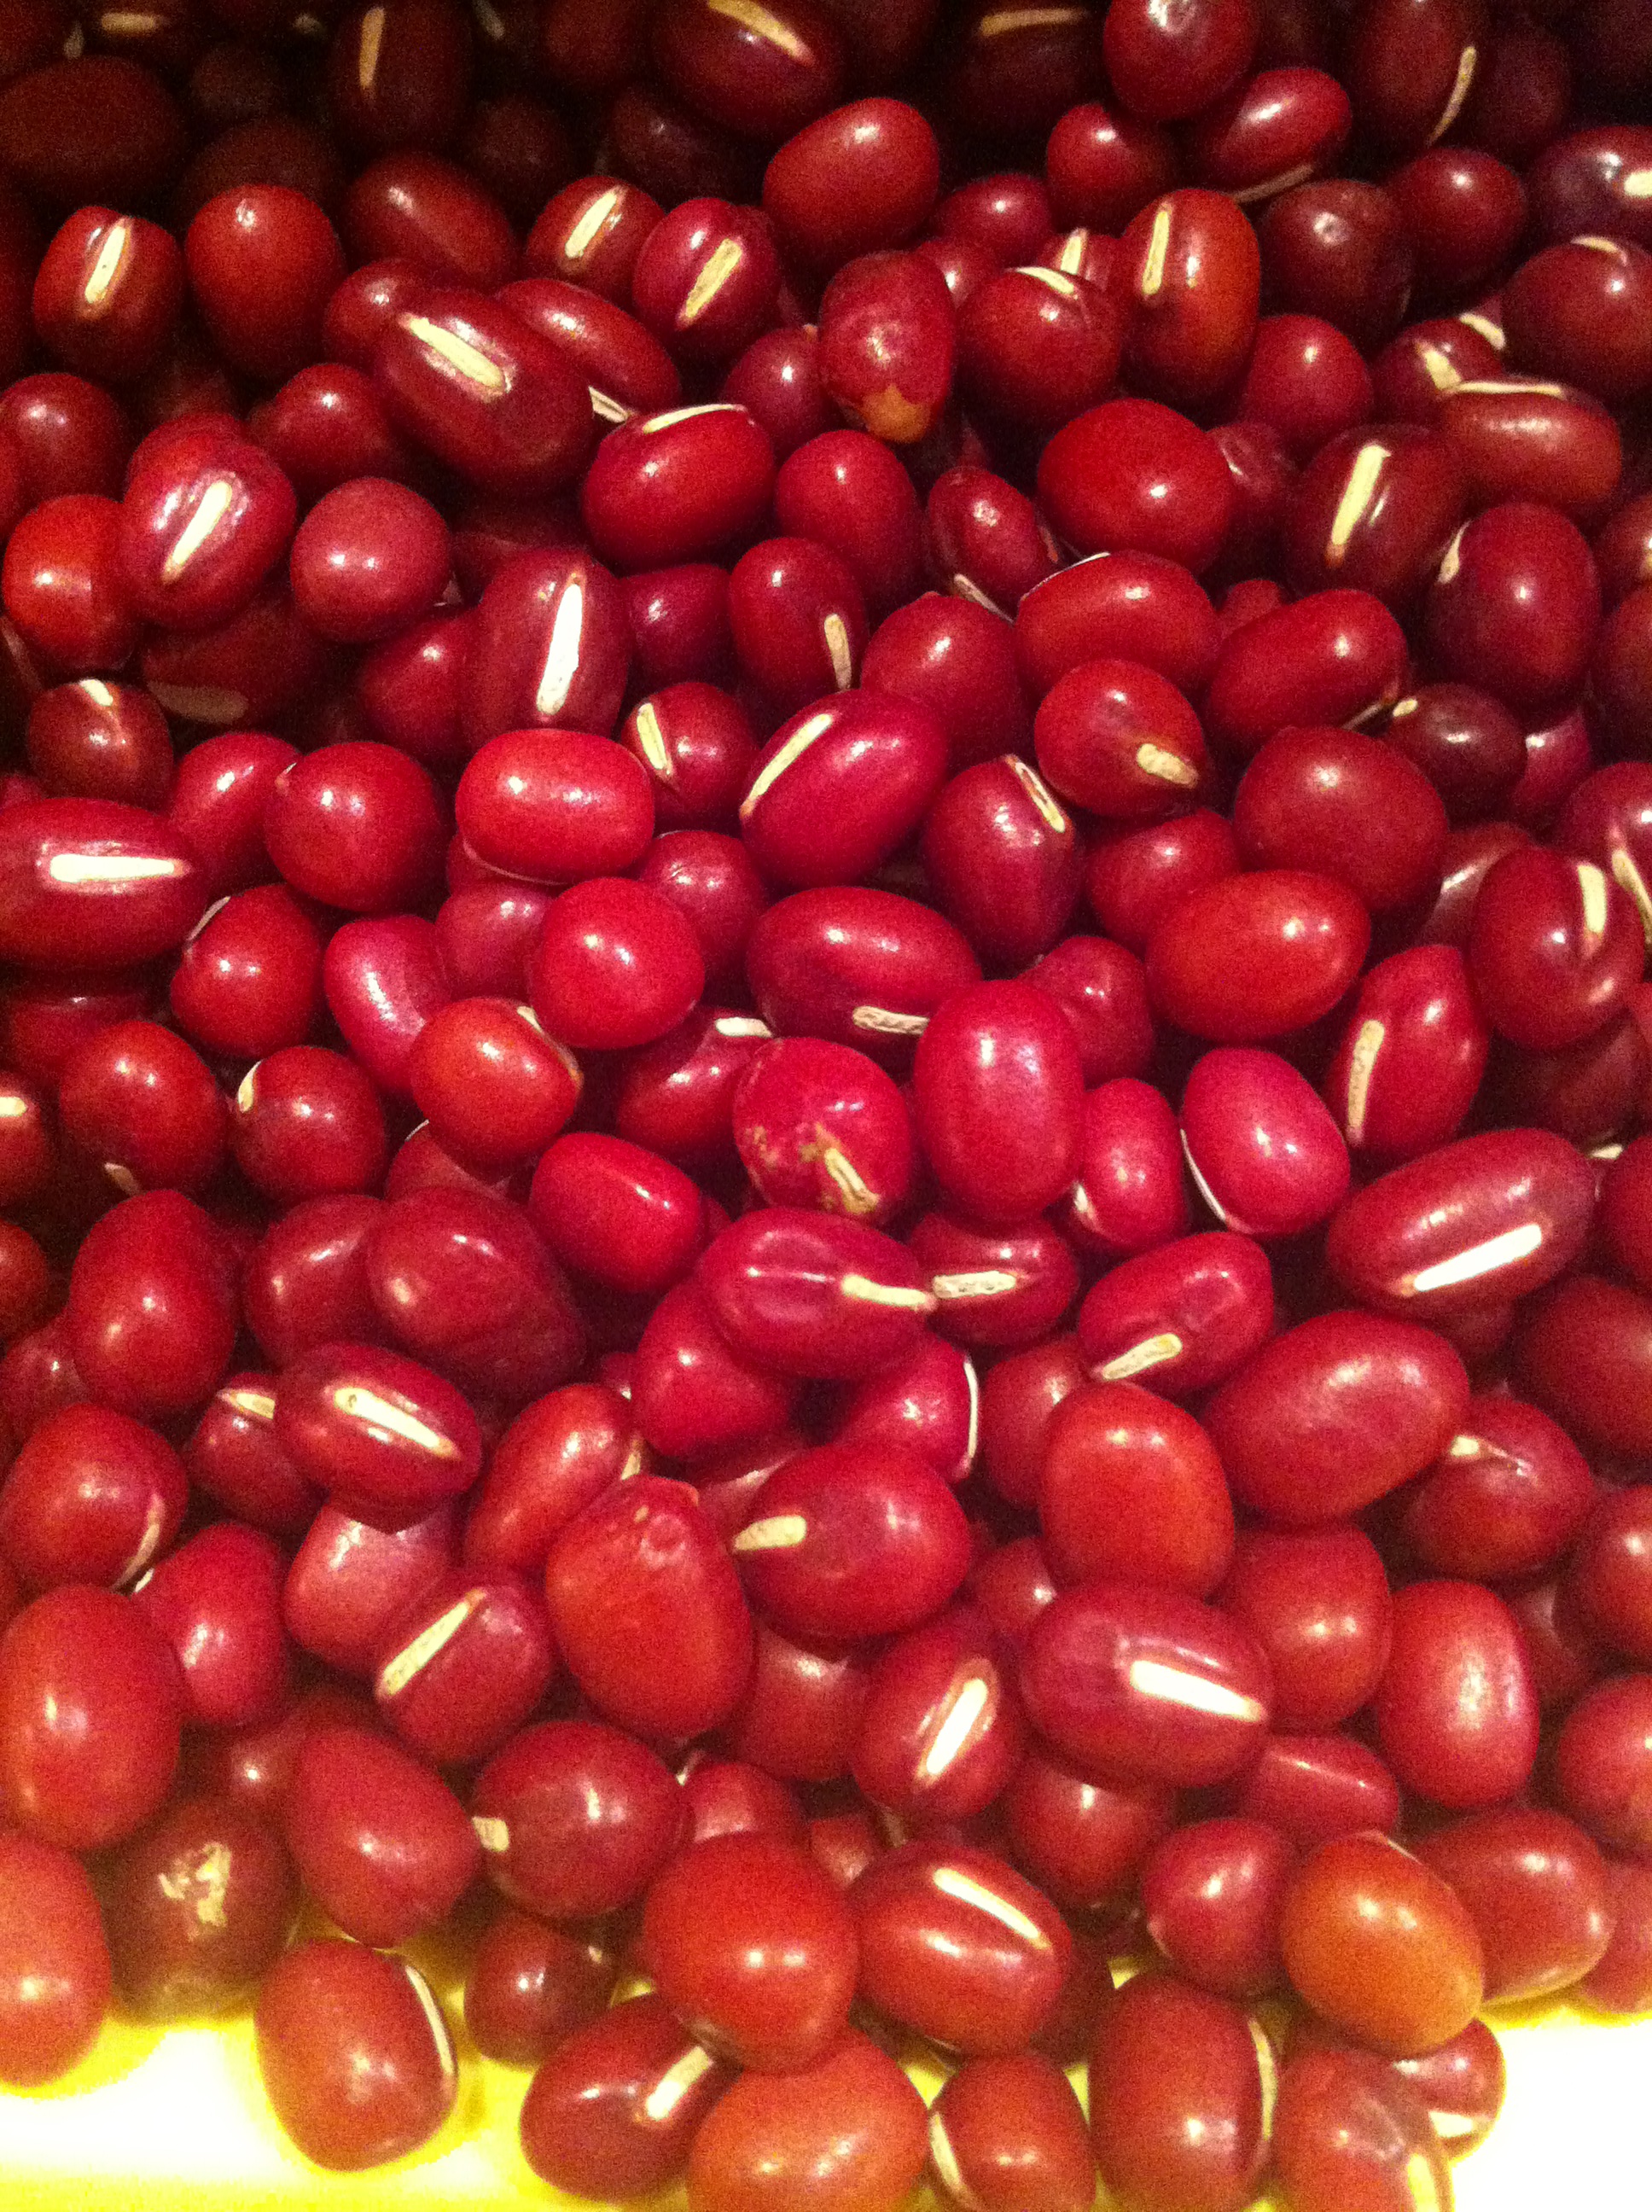
Pictured above are the azuki beans used for the brownies. You can of course use black beans. The reason I chose azuki beans is because sweet red bean paste makes a great addition to brownies. I personally make my own red bean paste. It’s super simple – but more time consuming. You can buy canned red bean paste if time is an issue, although the quality is not as good.
Red Bean Paste Ingredients as adapted from anyrecipe.net
1 1/2 cups azuki beans
1/2 tsp of salt
1/3 cup maple syrup
Directions
Soak the beans in water overnight (or least least 8 hours). Drain and rinse the beans with cold water. Return to a pot and cover with cold water and bring to a boil. Immediately take off of heat, let cool, strain and rinse with cold water. Repeat this process one more time to get rid of the surface impurities of the beans. This process also gives the red bean paste a better flavour.
Add 5 2/3 cups of water to the drained and rinsed beans. Bring to a boil – then reduce the heat and simmer until the beans are tender. This process will take about 2 hours. If you find the liquid evaporates too quickly you can add a bit more. Remember you don’t want there to be too much liquid at the end. Stir in maple syrup and salt and cook until the beans are thick (the original recipe calls for 1 1/2 cups of sugar). I only lightly sweetened mine with maple syrup. When the beans are ready you should be able to see the bottom of the pan when you pull the spoon across it.
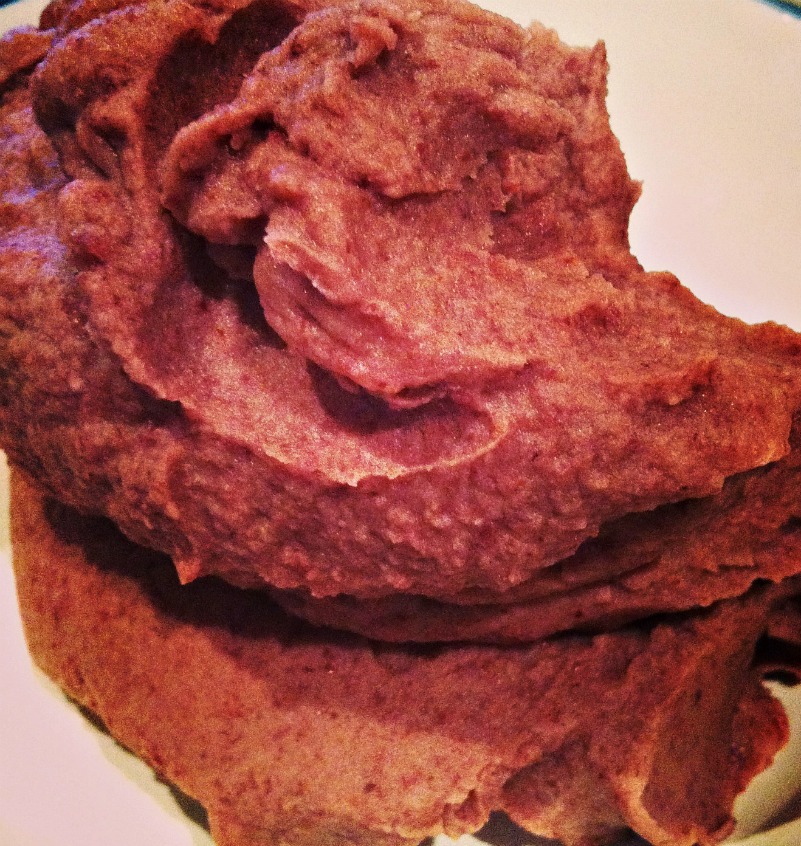
At this point I process the beans until they are smooth. Enthusiasts prefer to pass the beans through a fine mesh sieve (tamis process). The result is a smoother more refine red bean paste. For these purposes I found a processor or blender worked just fine.

Azuki Brownie Ingredients
1 3/4 cup red bean paste
2 ripe bananas
1/2 cup cocoa
5 Tbsp coconut oil
1/2 cup gluten free oat flour
1/2 tsp gluten free baking powder
2/3 cup organic brown sugar
1 tsp organic vanilla
1/2 tsp sea salt
1 cup dairy free dark chocolate chips
Directions
Preheat the oven to 350 and grease and line a 8 inch square baking tin with parchment paper.
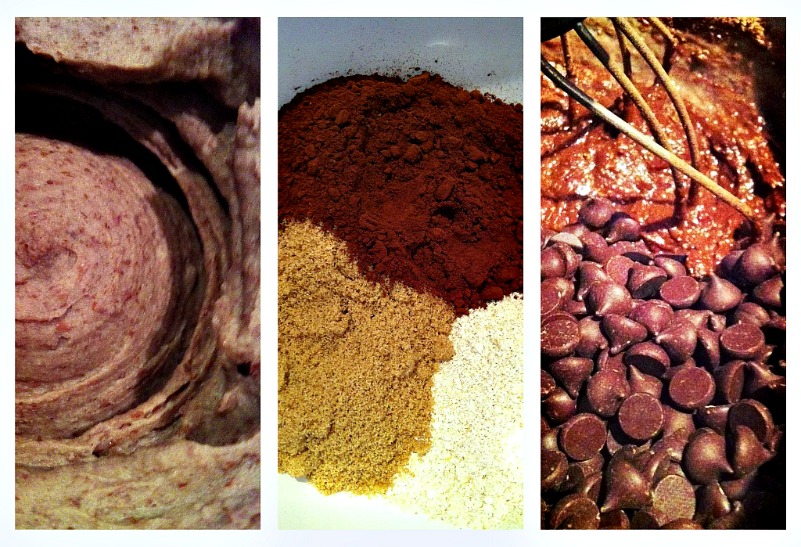
In a medium bowl sift together dry ingredients and set aside. If you have a Kitchen Aid or food processor add the bean paste, bananas, vanilla and coconut oil and pulse/mix until smooth. Add the dry ingredients and mix until fully incorporated and then fold in the chocolate chips. Spoon the mixture into the baking dish. The batter is a bit on the thick side and will not spread out much more in the oven – so make sure it looks nice in the pan. The only real difference I found in baking these brownies is that they look at bit dull when they come out of the oven. They don’t have that buttery sheen. Fear not as the taste is quite amazing. If you are not a fan of coconut you can switch the oil for something more neutral like vegetable oil. You can use almond meal in place of the oat flour.
Bake for 35 – 40 minutes. When a toothpick comes out clean they are done. Every batch I made varied a bit – but I think this has something to do with my archaic oven 😉 They could take up to 45 minutes. The brownies will firm up as they cool so hold off on slicing until then. These treats don’t last very long at our house!


