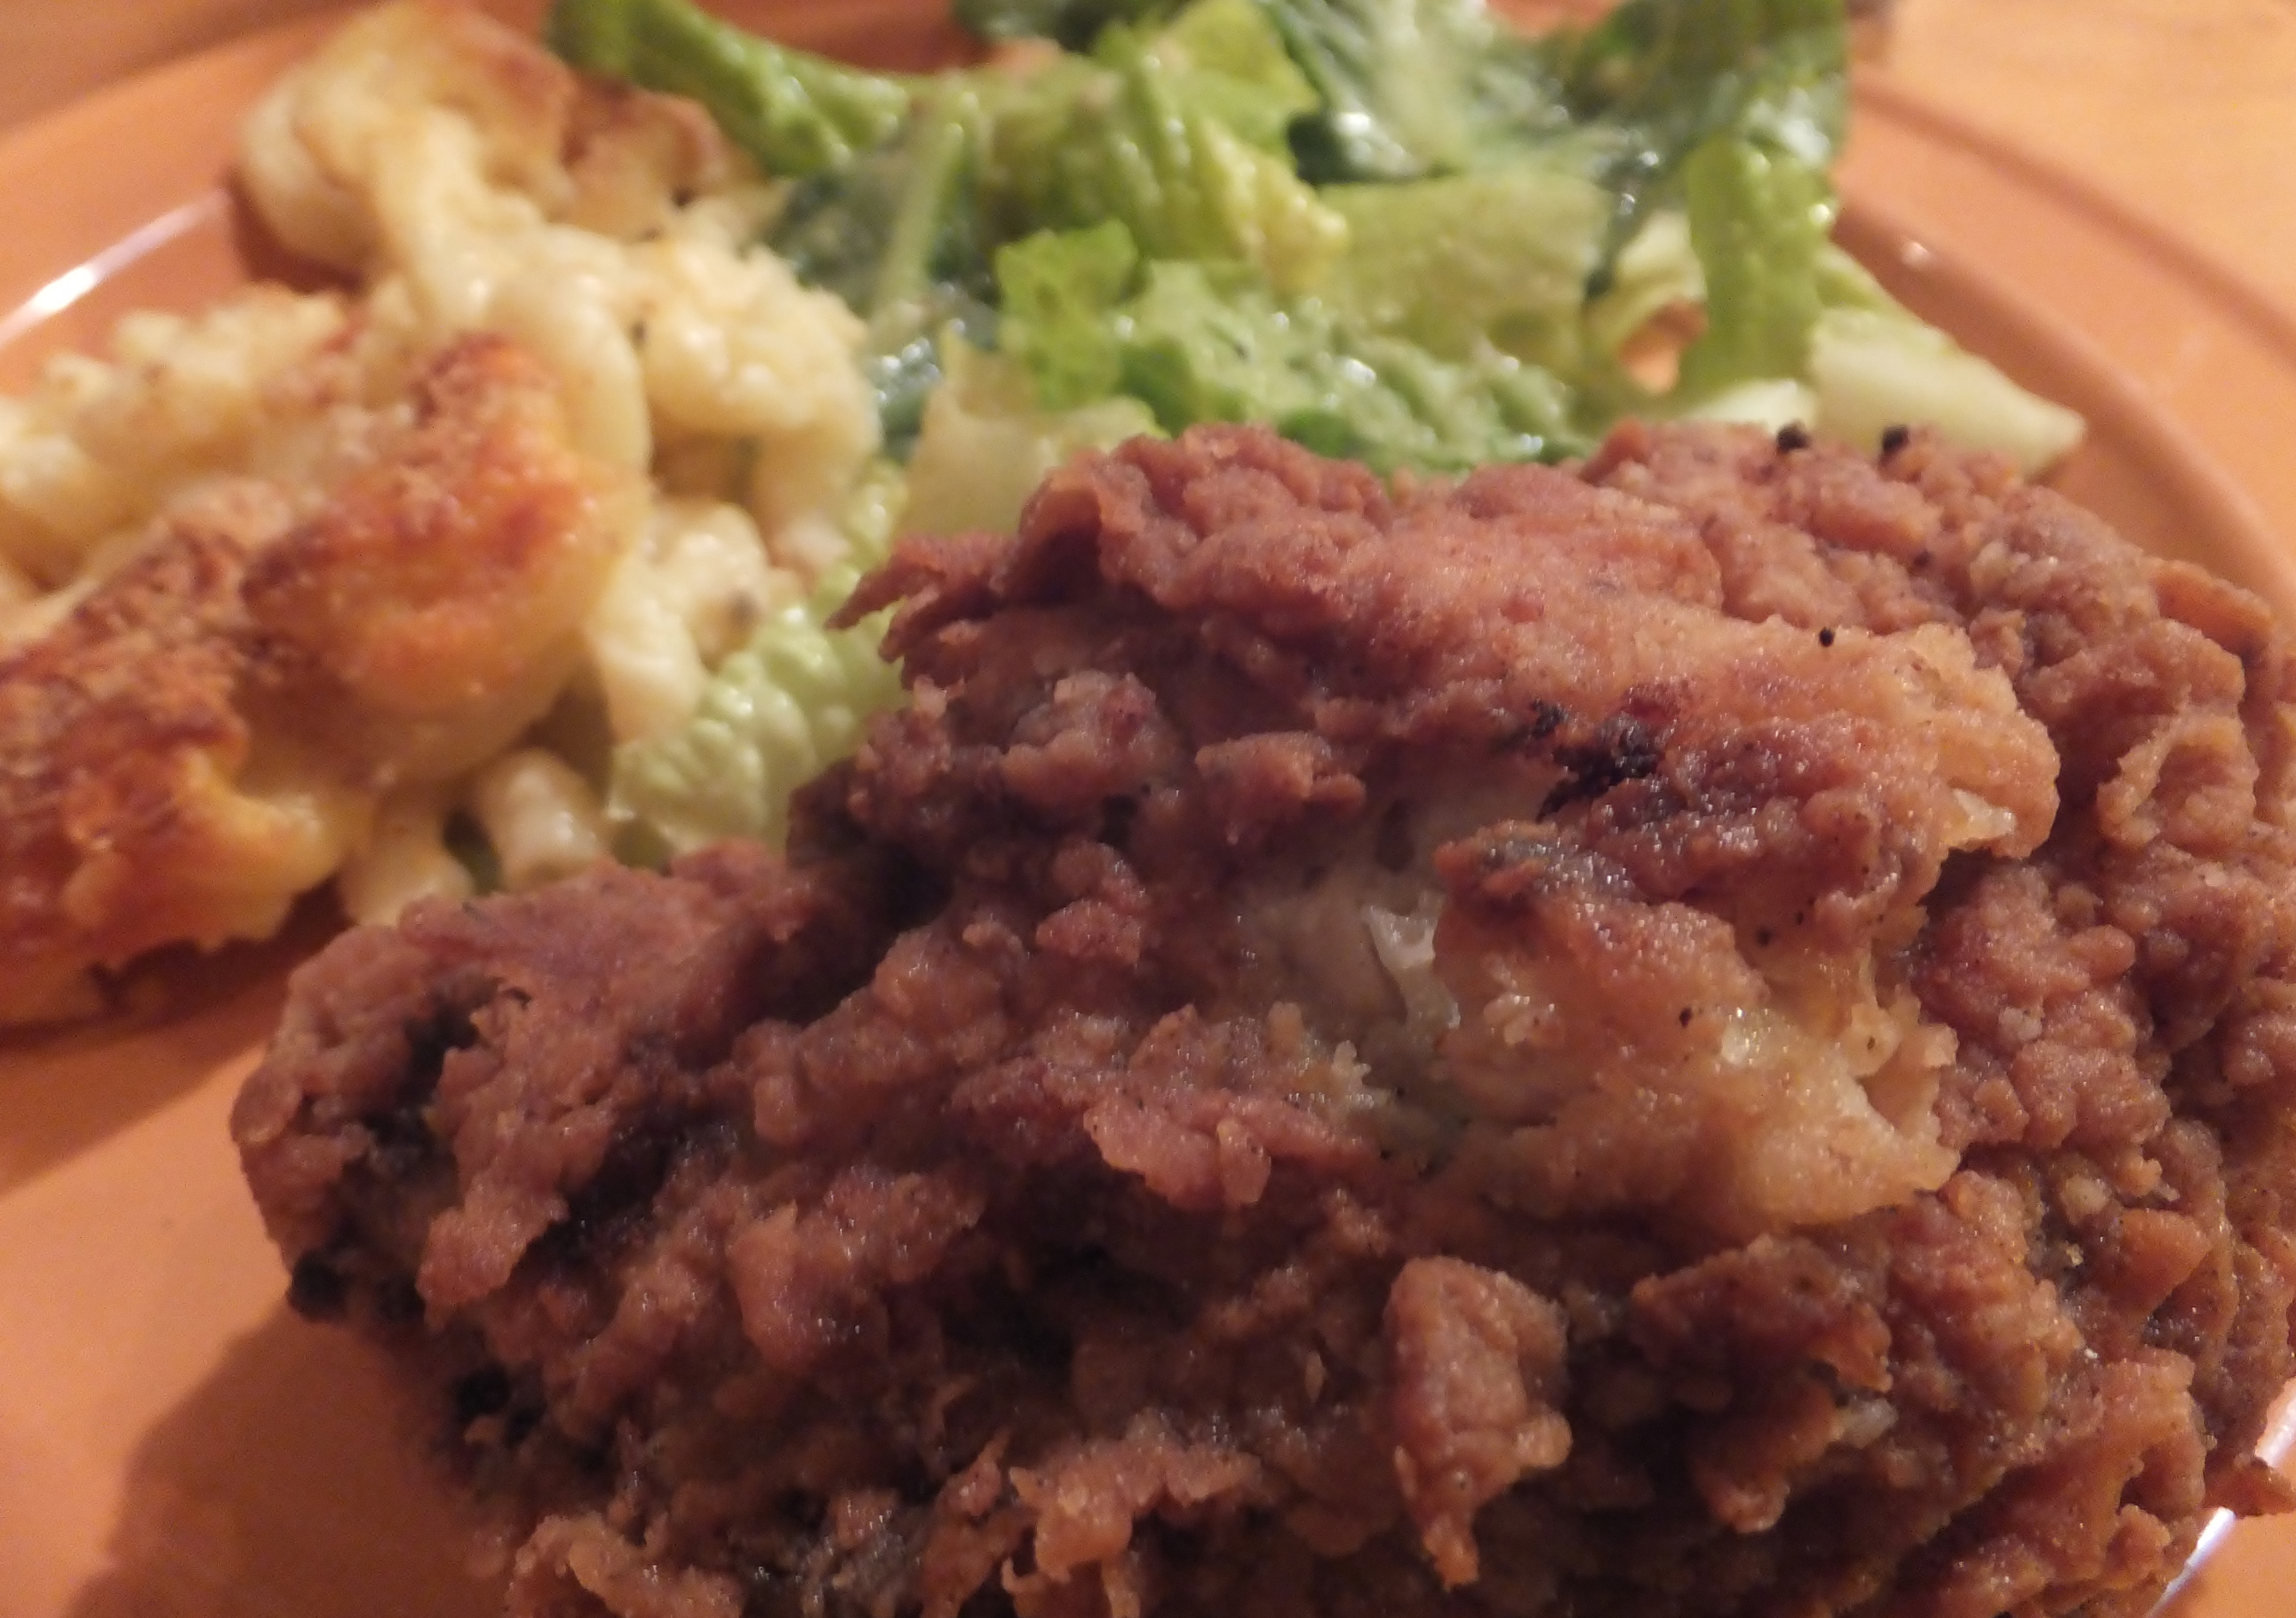
If you were to pick a last meal what would it be? This is a question with no simple answer – but for me – mac & cheese, Caesar salad and fried chicken would most certainly be in contention. This month has been an awesome food month. Birthdays bring many good things.
This weekend was made extra special by my dear friend Joanne Hudspith. She is one of those rare people that gives the gift of time. Forget the ribbons and wrapping – this incredible lady makes dinners (!!) for those closest to her on their birthdays…and did I mention she is a fabulous cook? She cans, preserves and gardens up a storm come spring, and knows the value of connection. She owns Joanne Hudspith Yoga Therapy in Hamilton. If you are in town check out her studio. Her talents extend past the kitchen.
This picture says it all:)

Joanne is known for many lovely meals – but one of the most talked about is her fried chicken. So that’s what I picked for my birthday…and OMG was it sublime…crispy, crunchy, fried goodness. Despite being submerged in oil these beauties are not overwhelmingly greasy. Each morsel is moist and tender. I died and went to chicken fried heaven last night. My 7 year old, who knows his chicken, proclaimed it to be the best chicken he had ever had! This indulgence was well worth not being able to zip up my skirt this morning. Hey after all, birthdays only come once a year right? Ha. This sentiment holds less water when you celebrate throughout the month of January;) The next posting will include some greens, cross my heart, or possibly for the sake of it!
Joanne’s recipe comes to you courtesy of Epicurious:
Deviled Fried Chicken
Ingredients – Butter Milk Marinade:
2 cups buttermilk
1/4 cup Dijon mustard
1 tbsp onion powder with green onion and parsley
1 tsp salt
1 tsp dry mustard
1 tsp cayenne pepper
1 tsp ground black pepper
1 – 3 to 3 1/4-pound fryer chicken, backbone removed, chicken cut into 8 pieces, skinned (do not use wings)
Ingredients – Flour Dredge
3 cups all purpose flour
1 tbsp baking powder
1 tbsp garlic powder
1 tbsp onion powder
3 tsps dry mustard
1 tsp cayenne powder
1.5 tsp ground black pepper
4 tsps of salt
5 cups (or more) peanut oil (for frying) – you can substitute canola for cost effectiveness
Directions:
First, source your chickens. I know it can be pricey, but it is far better to pay a bit more for flavorful free range birds. There truly is no comparison between these chickens and the factory bred impostors. We live on a strict budget these days, but find it’s better to eat vegetarian than to skimp in this area. Joanne bought her chickens at Cumbrae’s. She also prefers to do her own butchering – so that she can use the carcass for a rich stock to be used at a late date. Could not agree with her more.
* A matter of taste: You can take the Devil out of the chicken. Joanne cut down on the use of cayenne. She uses half the amount called for in the original recipe. If you prefer super spicy chicken restore the original recipe suggestion for 4 teaspoons in total.
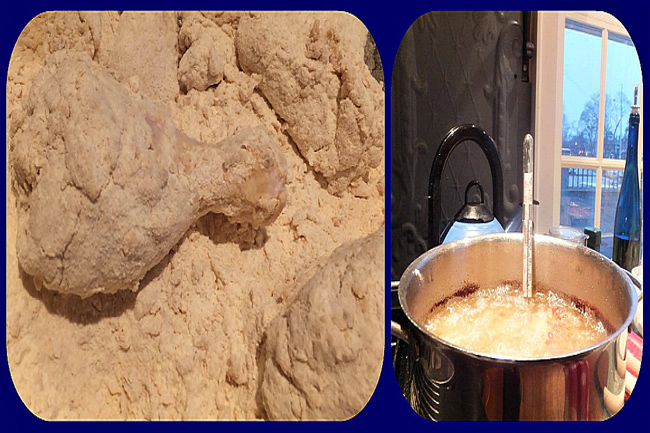
Buttermilk Marinade – Mix together the ingredients for the marinade and put contents in a 1 gallon resealable bag. Add chicken pieces and soak for 24 – 48 hours. This is an important step that will lead to super moist and tender chicken. It also helps to infuse flavour throughout so it should never be skipped. Rotate the bag every few hours to ensure even marination.
Flour Dredge – Combine the ingredients for the flour dredge. Take chicken pieces out of the marinade one at a time and roll in the flour mixture. Be sure that there is plenty of marinade on the skin. Coat generously with flour and allow to sit in flour mixture for 1 hour.
*The Oil & Frying: This recipe calls for peanut oil but canola can be substituted. Use a stainless steel pot that is 10 to 11 inches in diameter and pour in oil up to a depth of 1 1/4 inches. Joanne used quite a bit more oil and submerged those puppies completely – but then again she tripled the recipe for lots of leftovers! If you decide to use more oil and increase the amount of chicken – be sure to change the oil half way through the process. Temperature is of the utmost importance. Step 1: Before the chicken is added the oil should be at 350 degrees. Add 4 pieces of chicken at a time skin side down. Reduce heat and fry for 5 minutes. Be sure to use a thermometer. Once the chicken has been added the temperature should stay within a sweet spot no lower than 280 degrees and no higher than 300 – assuring golden, juicy chicken every time.
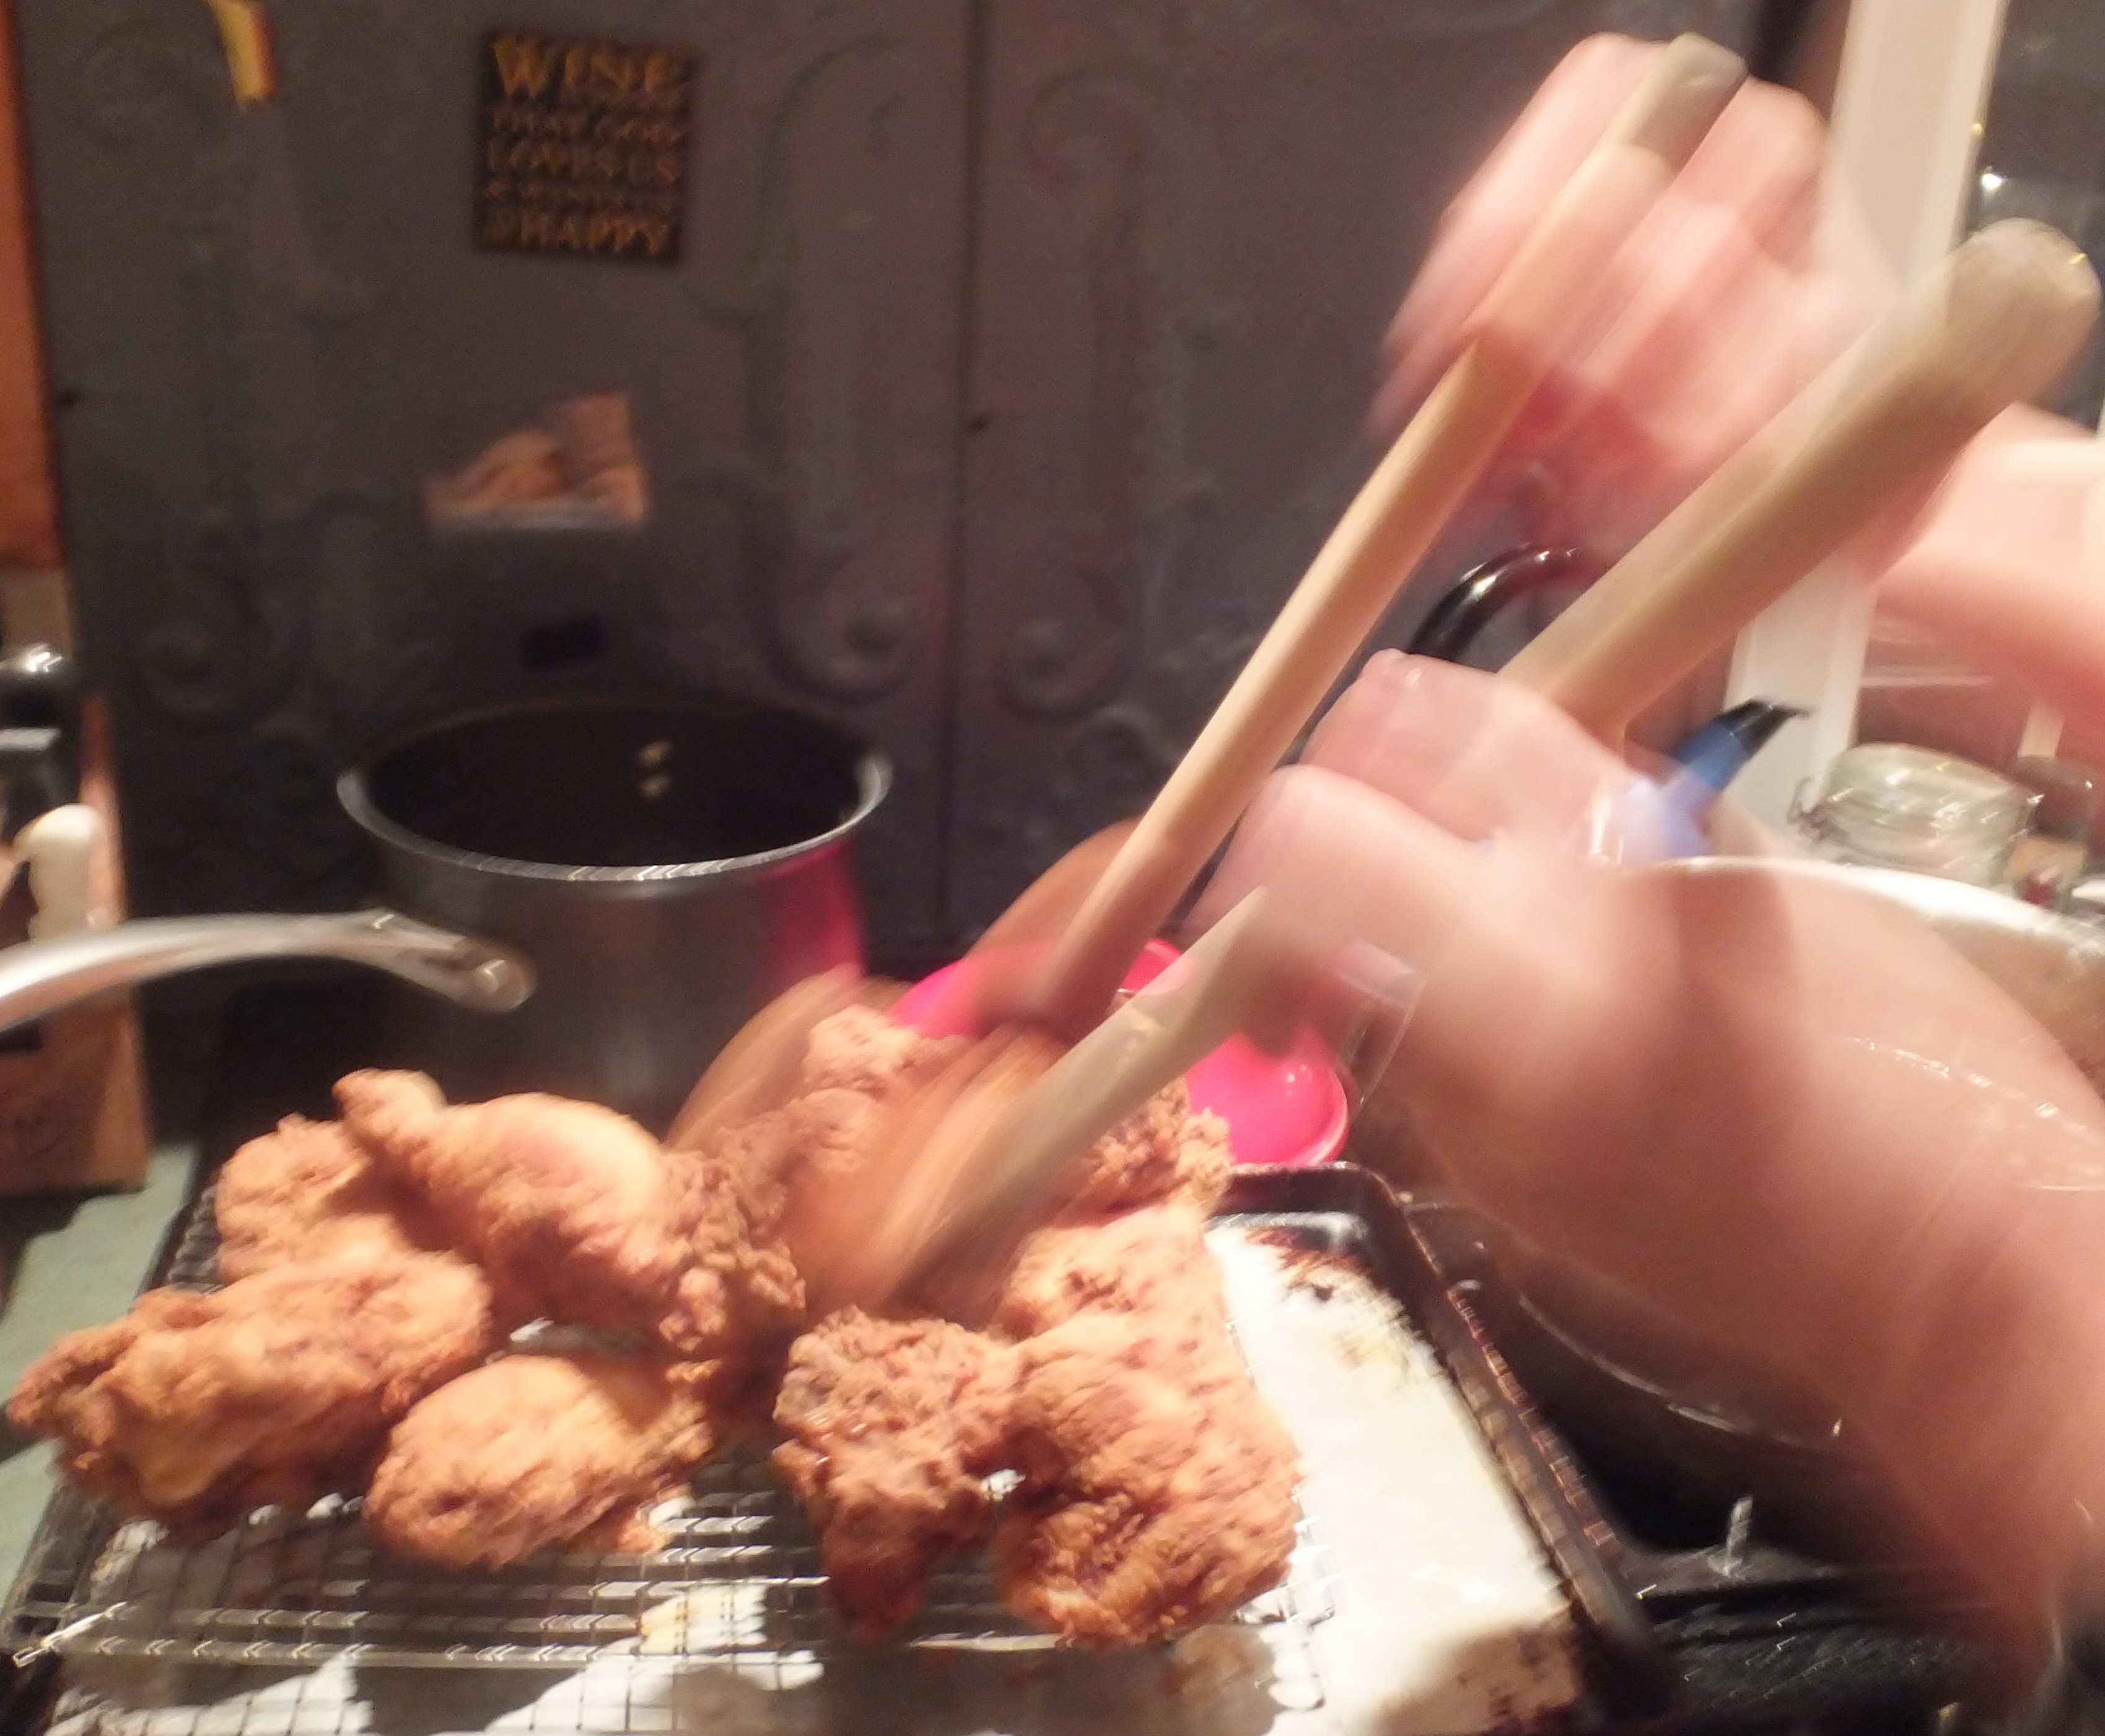
Step 2: Joanne recommends a glass of wine and some good tunes during the frying process – although not too much! Frying is tricky business and too much merry making could have drastic consequences;) Step 3: Wooden spoons should be used to turn the chicken over – then fry for another 7 minutes. Step 3: Turn for the 3rd and final time, browning until until chicken reaches is a deep golden color – this process will take about 3 minutes. Transfer to a rack set on a baking sheet to rest.
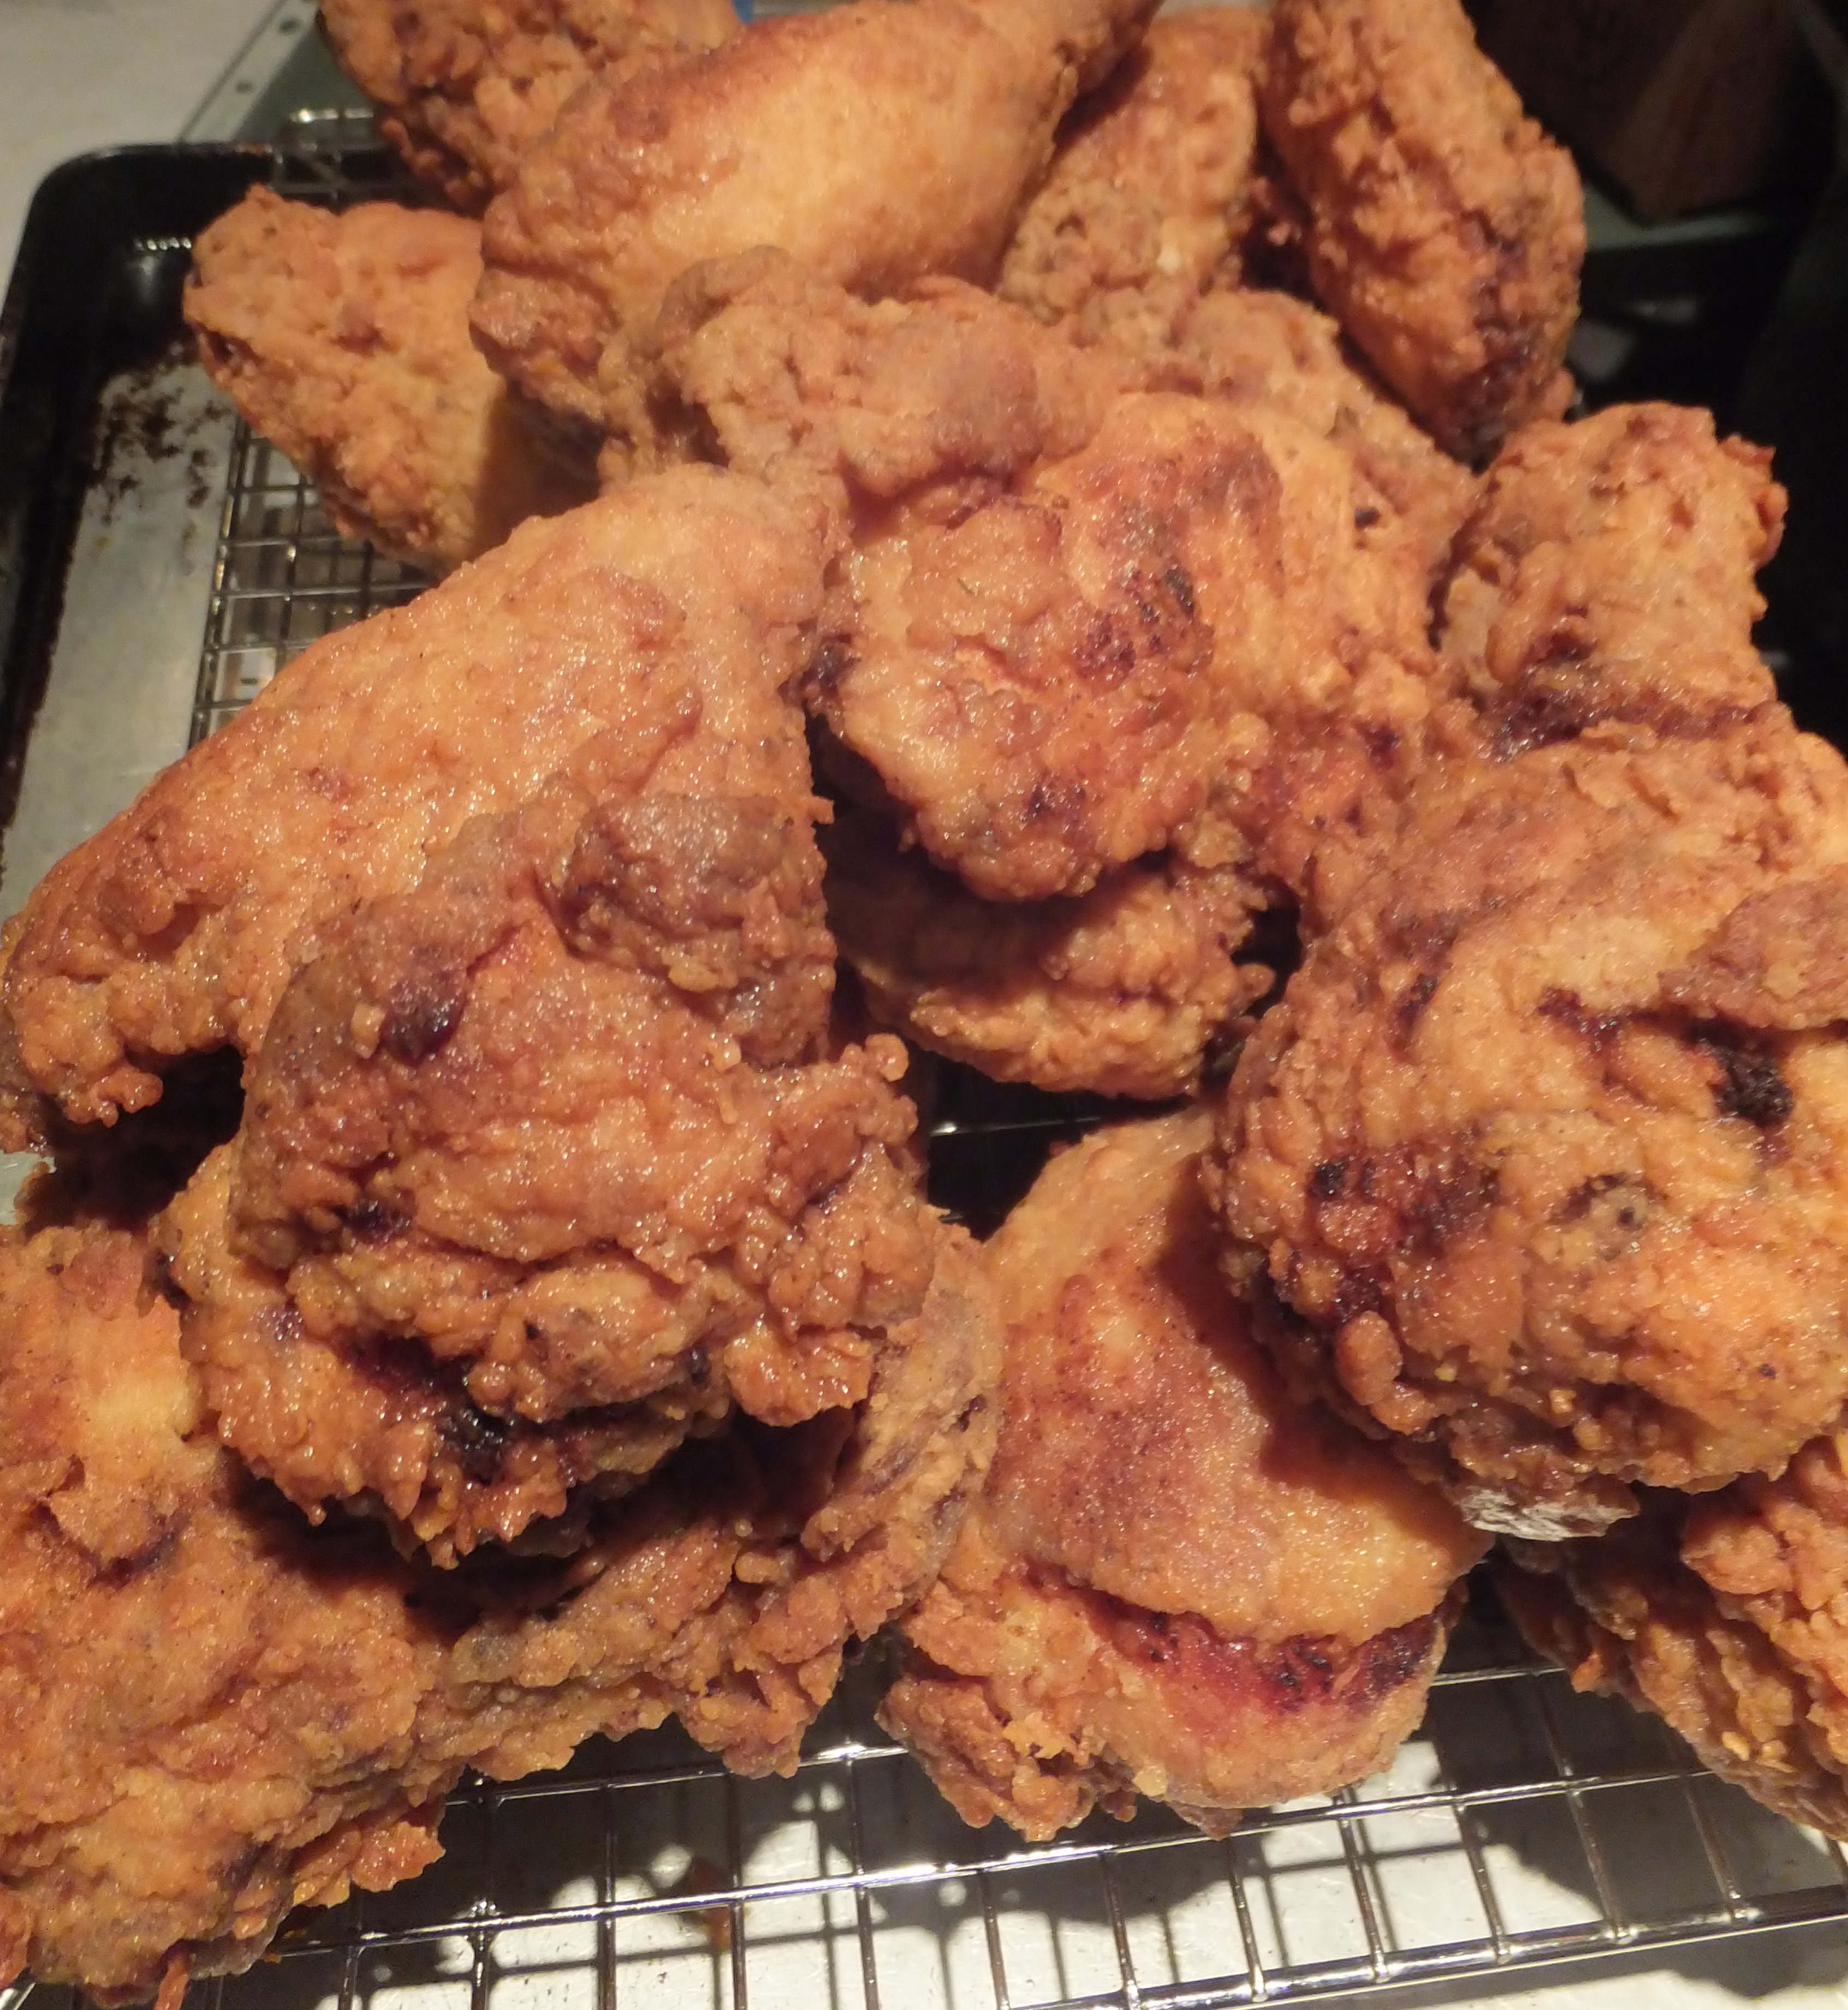
Repeat the process for the next four pieces of chicken by reheating the oil to 350 – and follow the above mentioned steps again. Put first batch of chicken in a heat proof container in the oven set to 225 degrees to assure that it stays warm while you fry the second batch. Joanne swears the chicken is even better next day – cold and straight out of the fridge. I can attest to this myself.


This really answered my problem, thanks!
Hello, Nice blog
I will have to look that up. It sounds yummy.